If you want to install LVT flooring in a kitchen or bathroom, the first thing you need to do is prepare the subfloor. Whether it is an old concrete floor, a nail, or something else, the subfloor should be level and completely free of imperfections. To check if the subfloor is level, use a spirit level to check for any dips or humps. If you find any, level them out with a floor leveling compound.
LVT Flooring Installation Process
Luxury vinyl tile comes in peel-and-stick options. You should remove trim that will make the installation easier, including baseboards and base shoe moldings. Also, remove the case molding around doors. Door case molding is relatively easy to remove, but you may have to cut it by hand if it is larger than the floor. You can also use a shop vac to remove any debris or lose pieces.
Roll the vinyl sheet
Then, roll the vinyl sheet into the adhesive. Be careful not to drop the best luxury vinyl tiles onto the subfloor, as this may create air bubbles underneath. Use a 100-lb floor roller to press it into the adhesive. Start in the center of the sheet and work your way outward. This will remove any air bubbles. Once the sheet is fully embedded, you can start installing doors, molding, and trim. Depending on the type of vinyl you choose, you may need to install an underlayment to protect your floor from scratches or moisture.
Install second-row planks
After installing the first row of planks, you can install the next row by using the second row of planks. You should line up the joints by using the first plank as a straight edge guide. The next plank in the second row should be the same length as the previous row. You can now move onto the third row and finish the installation. The best way to install LVT flooring is to follow the pattern you just finished!
Prepare the subfloor
The next step in the installation process is preparing the subfloor. Ensure that it is clean and free from nails and staples. Ensure that you remove all the old flooring before installing the new one. You may also need to purchase extra tiles to complete the job. Occasionally, you may need to cut the tile to fit. To check for proper spacing, place the tile over the tile you just installed. Use a straight edge to mark the tile and a utility knife to score the middle tile.
Installation method
Once you have decided on the style of LVT flooring you want, it is time to consider the installation method. Whether you are installing it in a residential or commercial space, you need to consider the installation process. Installing LVT in the correct way will ensure that it is durable and will not crack. For commercial applications, glue-down installation is recommended while floating floor installation is the best choice. When installing LVT flooring, you should choose a surface that is free from dirt and debris.
Underlay high-density foam
Using underlay is a great option for luxury vinyl tile flooring. The underlay is a layer of high-density foam sandwiched between the subfloor and the tiles. It will reduce noise by 16-20dB. It can also keep the tiles in place. If you are installing it yourself, make sure to check with a contractor before installing the LVT flooring. It is worth the extra time and money to make sure that the installation goes well.
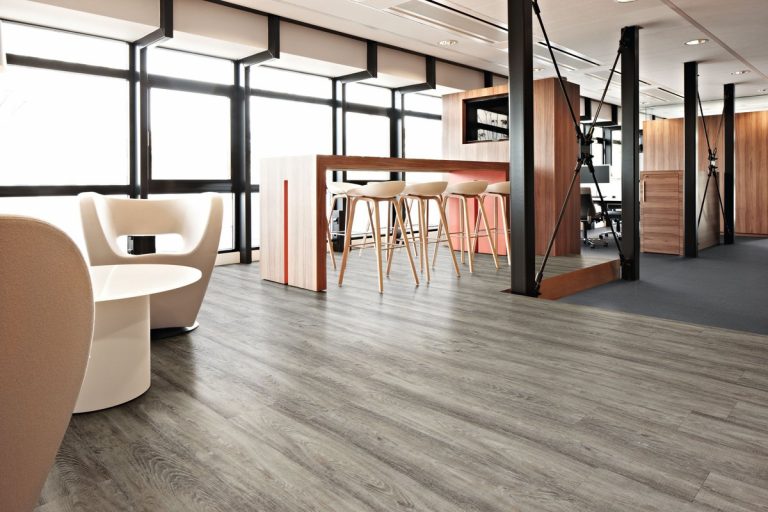
Follow the Direction of natural light
In general, the best way to install luxury vinyl flooring is to follow the direction of natural light. If the room has big windows or other openings, you should install the dubaivinylflooring in the same direction. This approach does not work in rooms with major angles or narrow spaces. In these cases, you can use diagonal or herringbone patterns to create the best effect. If you are working with a limited budget, you may want to consider laying the flooring along a hallway instead.
Once you have cut the planks to the right size, you can install them in the room by using a snip. Make sure that the joints and tongue and groove connectors are aligned and that the seams are angled correctly. Then, place spacers along the walls and at the beginning and end of each row. Be sure to leave spacers around any fixed fixtures to prevent cracks and dents.